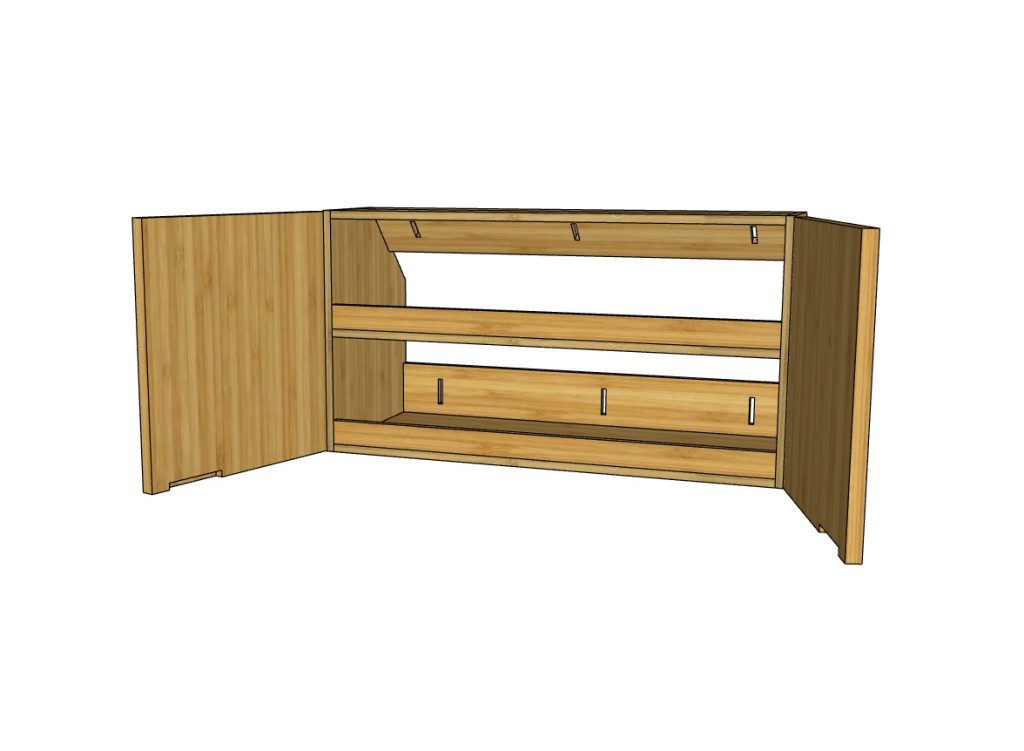
Sanding Your Bamboo Cabinets

This article will show you how to sand your bamboo cabinets and prepare them for finishing.
Created: July 1, 2026
Last updated: July 18, 2026
Some product links may be affiliate links. If you buy through those links, SweetDreamsVan may earn a small commission at no extra cost to you.

Overview

Difficulty: Moderate

Estimated Time: 20 minutes per cabinet

Tools Needed

  • Sanding Block

Materials Needed

  • 220-grit sandpaper
  • Microfiber cloth

Step 1 — Assemble Your Cabinets

Before sanding or applying any finish, completely assemble each cabinet according to the Sweet Dreams Van assembly instructions.

Assembling first allows you to:

  • Verify that every component fits correctly.
  • Ensure all joints are fully seated and aligned.
  • Tighten all connectors before final sanding.
  • Blend panel joints into one continuous, furniture-quality cabinet.
  • Avoid scratching finished panels during assembly.

Once assembled, confirm the cabinet is square and all fasteners are securely tightened before moving on.

Pro Tip: Place the assembled cabinet on a padded work surface or blanket to prevent scratches while sanding and finishing.


Step 2 — Sand the Entire Cabinet

Proper sanding is the foundation of a beautiful finish. Bamboo is extremely dense and rewards careful preparation.

Large Flat Surfaces

Using a random orbital sander or by hand:

  • Sand with 220-grit sandpaper.

Do not sand finer than 220 grit. Over-sanding can reduce the wood’s ability to absorb the Osmo finish. Always sand with the grain.

Edges and Corners

Lightly ease the sharp edges by hand while maintaining the cabinet’s clean, modern appearance. Avoid rounding corners unless that is your desired style.

Panel  Joints

Pay extra attention where panels meet. Sand lightly across the joints until they feel smooth to the touch. This helps create the appearance of a single, handcrafted cabinet rather than individual assembled panels.

Quality Check: Close your eyes and run your hand across every joint. If you can feel a ridge, you’ll probably see it after finishing.


Step 3 — Remove All Dust

Dust left on the cabinet will become trapped in the finish.

  • Vacuum the entire cabinet thoroughly.
  • Blow dust from joints, corners, and hardware pockets with compressed air.
  • Wipe all surfaces with a clean, dry microfiber cloth.

Avoid tack cloths that leave wax or residue.