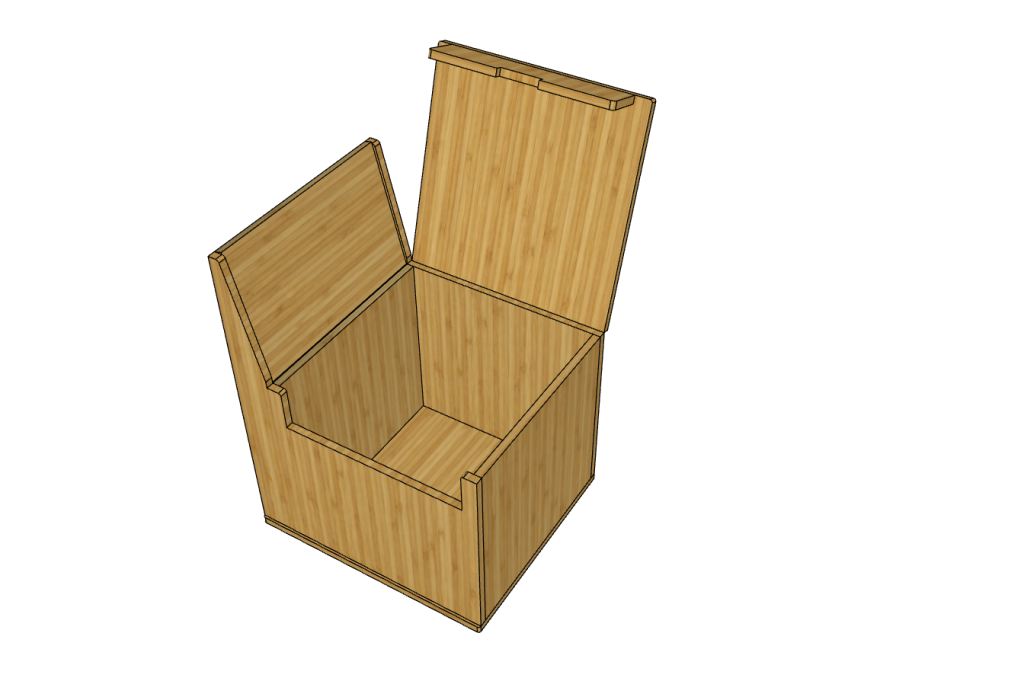
Finishing Your Bamboo Cabinets
Video
Before You Begin
Your cabinet should now be:
- ✓ Fully assembled
- ✓ Sanded with 220-grit
- ✓ Free of dust and debris
If you haven’t completed those steps yet, refer to the Cabinet Assembly and Sanding Your Bamboo Cabinets guides before applying finish.
Step 1 — Prepare the Osmo-Polyx-Oil High Solid
We recommend Osmo Polyx-Oil in the Matte finish (3031 Clear Matte). If you prefer more sheen you can choose Satin or another sheen option. Osmo Polyx-Oil is a hardwax oil that penetrates the bamboo while leaving a beautiful, durable, natural-looking finish. Proper preparation is important for consistent results.
- Stir the Osmo thoroughly from the bottom of the can until the oils and waxes are completely blended.
- Never shake the can, as shaking can introduce air bubbles into the finish.
- Stir frequently during use to keep the product evenly mixed.
- Wear disposable gloves and a respirator mask
Pro Tip: Pour a small amount into a separate container rather than working directly from the can. This helps keep dust and debris out of your finish.
Step 2 — Apply the First Coat
The secret to a professional Osmo finish is applying an extremely thin coat.
Using a lint-free cotton cloth or a white non-abrasive finishing pad:
- Apply a small amount of Osmo to the applicator.
- Work with the grain, spreading the finish evenly over the bamboo.
- Cover one section at a time, maintaining a thin, uniform film.
- Remember, you’re feeding the wood—not painting it.
A little Osmo goes a long way. If the surface looks wet, you’ve probably applied too much.
Pro Tip: It’s always easier to add a little more finish than to remove excess. Thin coats produce the most beautiful and durable results.
Step 3 — Buff Off the Excess
Within 5–10 minutes of application, use a clean, dry cotton cloth to buff the entire surface.
Continue buffing until all excess finish has been removed.
When finished:
- The surface should look rich and even.
- There should be no shiny puddles, streaks, or sticky areas.
- The cabinet should appear almost dry, not wet.
Pro Tip: The number one mistake when using Osmo is leaving too much product on the surface. If you think you’re done buffing, buff it one more time.
Step 4 — Allow to Dry
Allow the first coat to dry for 8–10 hours or overnight.
For best results:
- Maintain good airflow.
- Keep temperatures between 60–80°F.
- Avoid high humidity.
Step 5 — Lightly Scuff (optional)
If the surface feels slightly rough after drying, lightly scuff it with a white finishing pad or gray Scotch-Brite pad.
Remove all sanding dust before continuing.
Step 6 — Apply the Second Coat
Repeat the same process:
- Apply a very thin coat.
- Work with the grain.
- Buff thoroughly.
- Allow to dry overnight.
Two thin coats provide the best combination of beauty and durability.
Step 7 — Allow the Finish to Cure
Although the finish will be dry to the touch by the next day, it continues to harden as it cures.
- Handle carefully during the first few days.
- Avoid placing heavy items on shelves for 2–3 days.
- Full cure typically occurs in 2–3 weeks.
Step 8 — Caring for Your Finish
Clean with:
- Damp microfiber cloth
- Mild soap if needed
Avoid:
- Ammonia cleaners
- Bleach
- Abrasive pads
- Steam cleaners
One of Osmo’s biggest advantages is that worn areas can be lightly sanded and recoated without refinishing the entire cabinet.